Tutorial · Comic Kit
The Comic Kit Tutorial — From an Idea to Finished Pages
A simple, step-by-step guide to every button in the Comic Kit — from opening it to saving your four finished pages. No prompt-writing experience needed: if you can tell a story, you can make a comic.
What the Comic Kit makes
The Comic Kit turns your story into full comic pages — not single pictures, and not loose panels you have to arrange yourself. You tell Promly your story, and it draws complete comic pages, with the panels, speech bubbles, and sound effects already laid out for you.
- You get 4 pages. Every comic is four pages.
- Each page is one finished image — the AI arranges several panels inside each page for you.
- The model is picked for you. Promly pre-selects the comic-recommended model when you open the Kit, and a few models that don't suit comic pages are turned off here — if you pick one, Promly quietly switches you back to a comic-friendly model.
Great for: a bedtime tale, a kid's mini-adventure, a "how we met" strip, a product origin story, or a 4-page comic of your own character — anything with a beginning, a turn, a peak, and an ending.
The steps
Open the Comic Kit
On a computer: in the left rail of icons, click the speech-bubble icon labelled Comic. On a phone: tap the Comic icon in the row of Kit icons at the top. From the Studio's front door, you can also tap the "Make a comic" card.
Upload a photo of your character
The Comic Kit needs at least one reference photo of your main character, so they look the same on every page. Drag a photo onto the Upload reference box, or click it to choose one. A clear, well-lit photo where the face is easy to see works best — Promly automatically builds a little "style guide" from it to keep your character consistent across all four pages.
Name your comic
Type a short name in the name box (for example, Luna's First Flight). Promly won't let you press Generate until your comic has a name.
Write your story
In the big text box, type the story of your comic in plain language — a few sentences: a beginning, what happens, and how it ends. You don't need panel-by-panel directions; just tell it like you'd tell a friend. The minimum is 10 characters (up to 2000), but a few real sentences give much better pages than a few words.
Split your story into 4 pages (recommended)
Click "Split narrative". Promly reads your story and splits it into four page beats — one moment of the story per page (setup → change → climax → resolution) — and fills them in for you. It costs 1 Pixel (the button shows the price), and you can edit the beats afterwards. This is the single biggest quality step.
Adjust the four pages (optional)
You'll see four cards: Page 1 to Page 4. On each one you can:
- Pick a layout — each page starts on "Auto (recommended)", which lets the AI arrange the panels. If you want to force a shape: 2 panels horizontal, 2 panels vertical, 4 panels classic 2×2, 4 panels vertical strip, or L-shape (3 + 1 climax).
- Edit the beat note — a short line saying what that page should show (auto-filled if you used Split). Keep it to a sentence or two.
Check the model (usually leave it alone)
Under Model, the comic-recommended model is already selected. Leave it — it's the one tuned for real multi-panel comic pages and character consistency.
Press Generate
Click "Generate Comic" — the price in Pixels shows right on the button before you press it. Promly prepares your character's style guide, then draws all four pages. This takes a little while; full comic pages take longer than a single picture.
Look at your 4 pages
Each page appears as its own card (Page 1, Page 2, and so on) with its layout name. Each card is one finished, full-page comic image.
Fix one page if it came out wrong (re-roll)
If you like three pages but one is off, you don't have to redo the whole comic. Click "↻ re-roll page" on that page and Promly draws just that one again — the button's tooltip shows the single-page price.
Save your pages
Click Save on a page to keep it. On a computer it downloads the page as an image file; on a phone it opens the share sheet, so you can save it to your Photos or send it straight to WhatsApp. (You save one page at a time.)
A worked example (copy-paste this)
A complete, kid-friendly comic you can make in one go.
Pip and the Lost Star
Pip is a small, round robot with big friendly eyes and one bent antenna who lives in a cozy junkyard. One quiet night a tiny fallen star lands beside Pip, cold and barely glowing. Pip decides to carry the star all the way back up to the sky. Pip builds a wobbly tower of old crates, climbs higher and higher as the crates shake, and at the very top gently lifts the star back into the night. The star flares bright, the whole junkyard lights up gold, and Pip waves goodbye as the star twinkles home.
Then click Split narrative, leave every page on Auto, keep the pre-selected model, and press Generate Comic.
What you'll get: four full comic pages — Pip the same little robot on all four. Page 1 sets the scene, Page 2 he starts building the tower, Page 3 is the tense climb, and Page 4 is the glowing, happy ending. Short caption boxes and a sound-effect or two ("CLATTER", "TWINKLE") may be drawn right into the art.
Made-up character with no photo? You still need at least one reference image to start — just upload any simple picture that anchors the look (a toy robot, a drawing, a clip-art figure). Promly builds the style guide from whatever you give it.
What four pages look like
This four-page story was generated exactly this way — one consistent character, speech included:
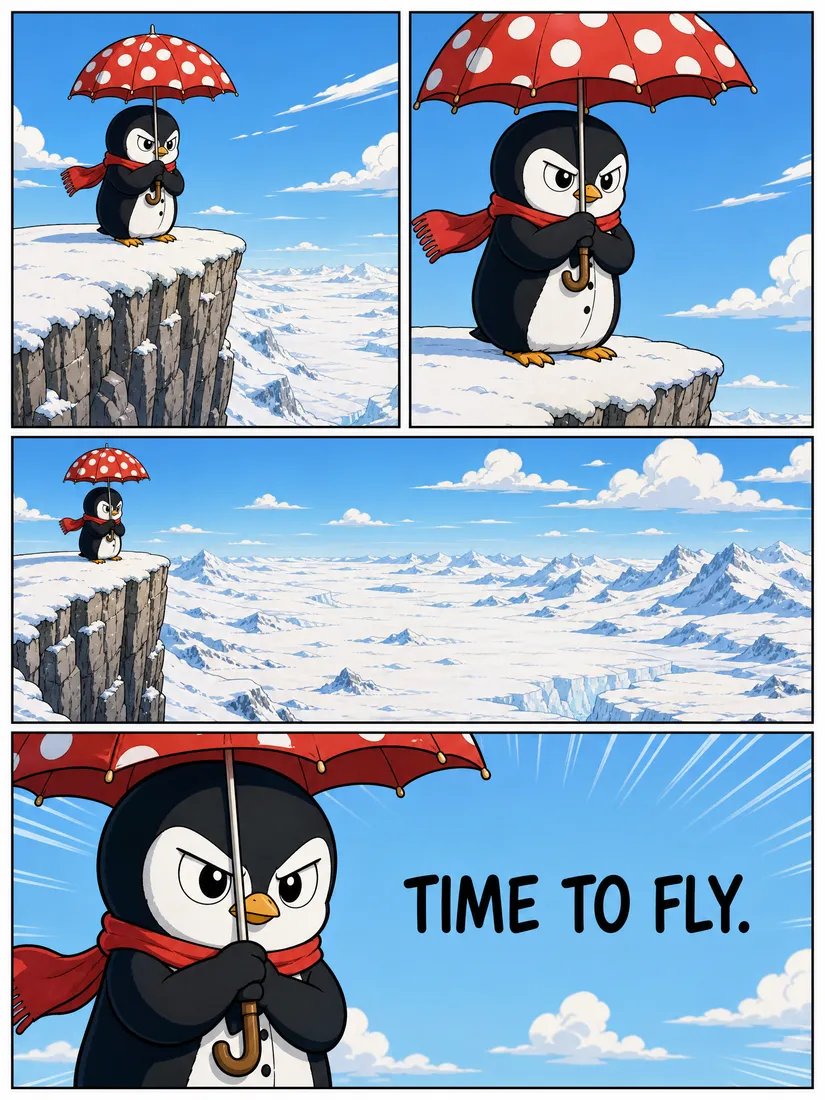
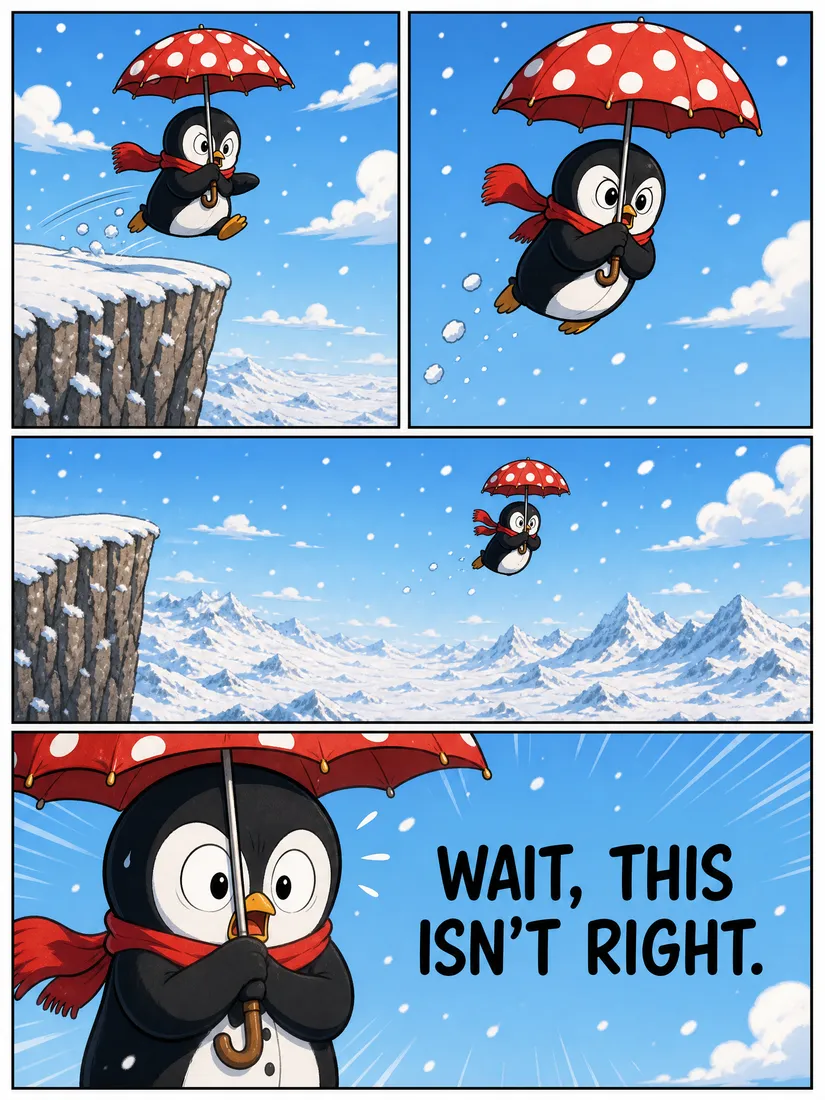
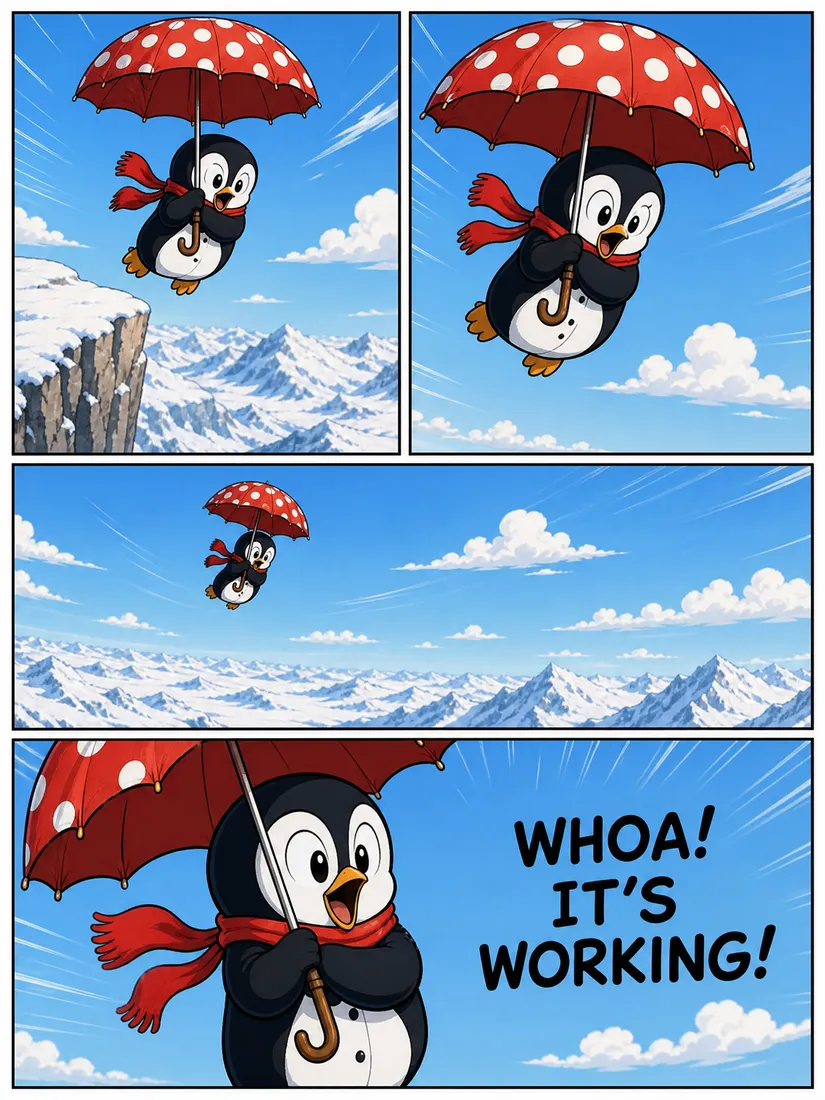
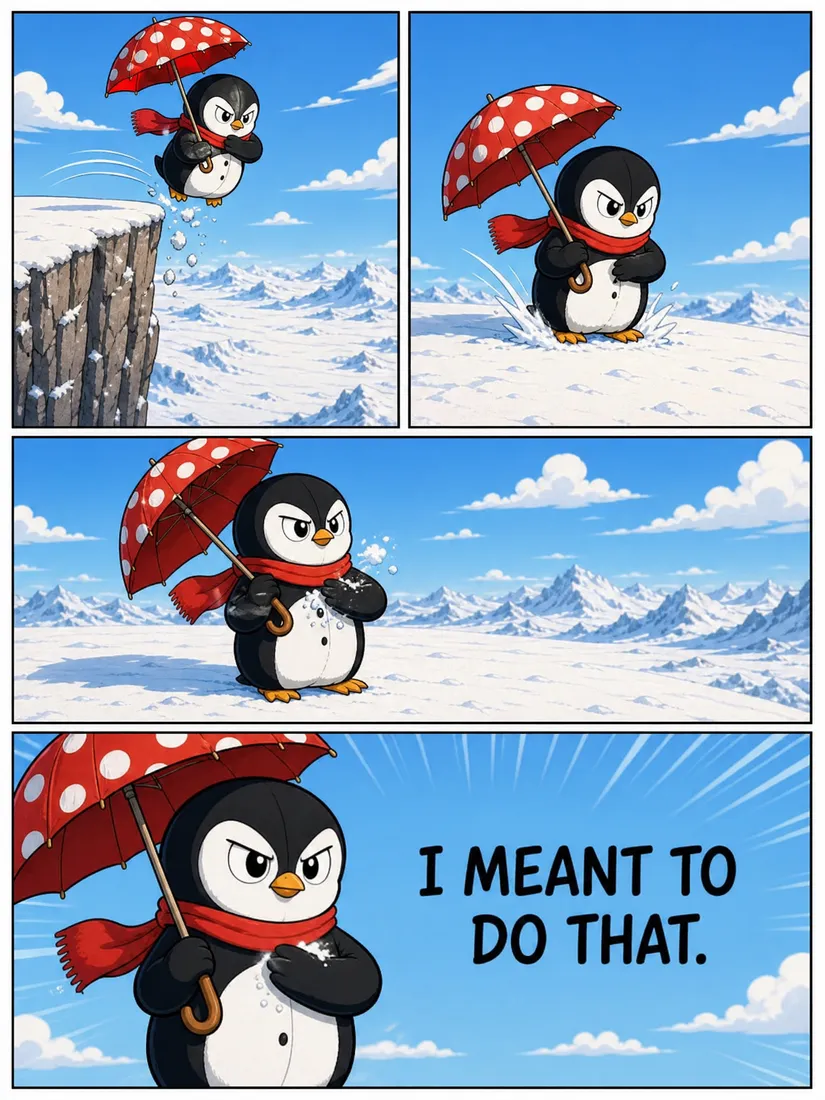
Four pages, one story · consistent character and style · speech generated in-panel.
Tips for better comics
- Keep the pre-selected model unless you have a reason to change — it draws real multi-panel comic pages and keeps your character consistent across the four pages.
- Prices are always visible before you commit — a comic is four pages, so the cost is four page-charges; the exact total in Pixels shows on the Generate button, and the re-roll tooltip shows the single-page price.
- Write a real story, not just 10 characters — a few sentences with a clear beginning, middle, and end give Promly enough to make four meaningful pages.
- Use the Split button — it turns one story into a clear 4-step arc, so each page shows one part of the story in order.
- Fix one bad page with re-roll — don't redo the whole comic for one page.
- Keep beat notes short — a sentence or two renders far more cleanly than a long paragraph.
- Character consistency comes from a clear reference photo plus the automatic style guide — the better your photo, the more your character stays "the same person" on every page.
- Leave layouts on "Auto" unless you have a specific panel shape in mind.
- Hebrew works — the comic models render Hebrew lettering well; write your story in Hebrew and the lettering comes out in Hebrew.
Common mistakes (and how to avoid them)
- "The Generate button is greyed out." Usually one of: you haven't named the comic, you haven't uploaded a character photo (required), or your story is under 10 characters. The greyed-out button's tip names what's missing — read it.
- "The Split button won't click." Your story needs at least 10 characters (and nothing else can be generating at the time).
- Writing panel-by-panel directions in the story box. You don't need to — write it as a story; Split and the AI handle the panels. Over-directing can confuse the layout.
- Expecting loose, separate panels. Each page is one image with the panels already arranged inside it — that's by design.
- Trying to make more or fewer than 4 pages. Every comic is four pages today.
- A short, vague story → flat pages. "A cat has an adventure" is long enough but tells the AI almost nothing. Add who the character is, where they are, what happens, and how it ends.